
Envelope Lining Tutorial
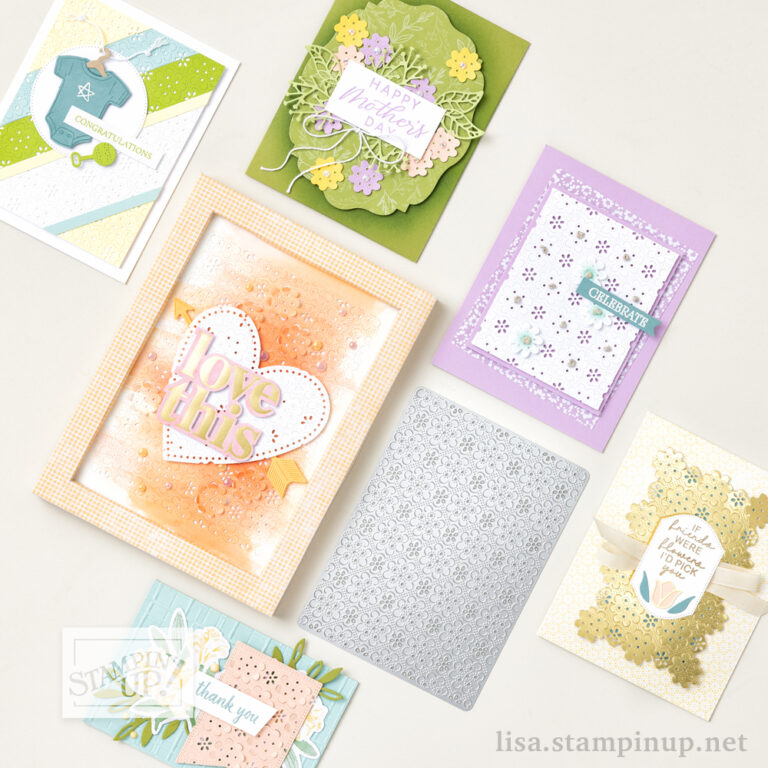
 I taught a class the other night where we used the Wishes Book to make three cards and matching envelopes. You can see the cards we made here. I thought it would be fun to line one of the envelopes with some patterned paper. Through trial and error, I figured out a few tricks that I thought I would share with you.
Here is what you will need:
Patterned Paper (PP) – I used a piece from CTMH’s Bella Paper Packet
Envelope – I used a standard A2 sized envelope from CTMH’s Value Pack of Cards/Envelopes
Scissors
Adhesive
Lay the envelope with the flap open onto the backside of your patterned paper. Trace around the envelope flap with pencil. Cut out with scissors, trimming about 1/8″ off of the width and just under 1/2″ off of the length. (I actually cut about 2″ off the bottom of mine to save paper. Once it is inside the envelope, you can’t see the bottom anyway.)

When lining your envelope you will want to leave the gum uncovered so it can be sealed as normal. Slip your patterned paper into the envelope and line it up with 1/8″ to 1/4″ border all around the edges. Once you are comfortable with the way it looks, fold the flap down with the PP in place so that it will crease the PP properly.
 Open the envelope back up and then add adhesive only to the flap portion of the PP and glue to envelope flap. This will make the inside slide easily when you open and close your envelope. If you add adhesive to the back of the entire piece of PP, it will be harder to open. (Trust me I tried it and it works much better to only glue the flap.)

If you do a lot of the same sized cards, you might want to make a lining template out of a piece of cardstock or chipboard to make it easier next time.
Wasn’t that easy? Now you can line all of your envelopes to match your cards!
VERY cool!! Thanks for the step-by-step instructions and photos — it really helps! I can't wait to line all my envelopes now! :o)
I agree, very cool! I sure appreciate the instructions, too, and the tips you learned as you developed this technique. THANKS!
Terrific! Thanks so much for sharing! I've been wanting to do this, but haven't taken the time to figure out exactly how. Now I know. You are awesome!
Thanks so much for that tutorial. I always wondered how people got their enevelopes to look like that.
Thank you Lisa – you are amazing!