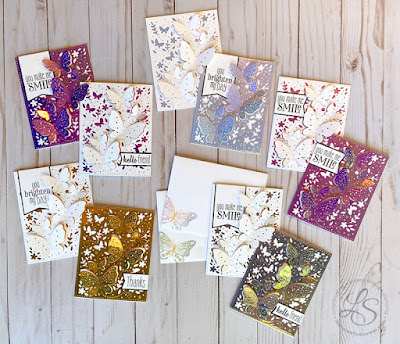
July Project Kit – Holographic Butterfly Card Kit
holographic butterfly cards using the
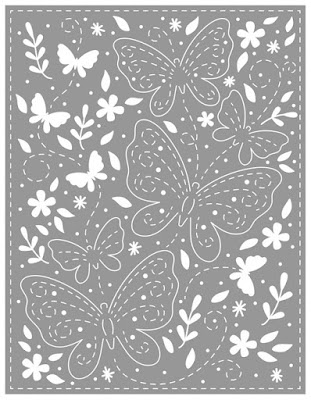
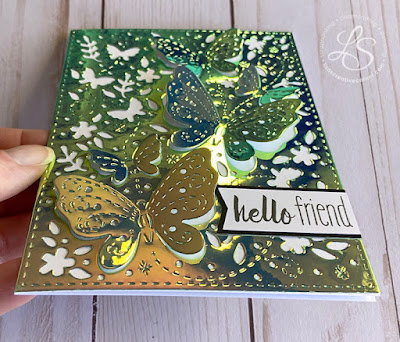
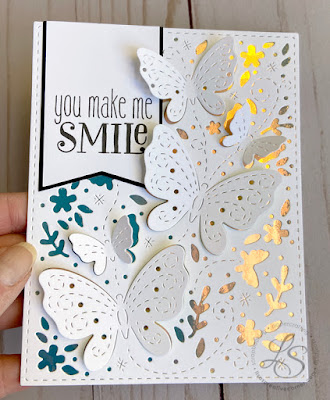
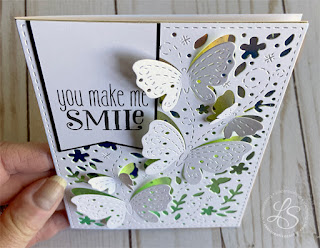
Butterfly Backgrounds Thin Cuts die. You will make 5 cards with different colored holographic paper on the top layer and 5 cards with the holographic paper peeking through
the white die-cut cardstock top layer. There will not be a local class this
month, but you can order a kit to be mailed to you or you may pick it up if
you are local.
- Pre-cut white and black banner-shaped cardstock pieces
-
2 each of 5 different colors of holographic paper (Dreamy,
Oasis,
Sunbeam,
Twinkle Toes,
Majestic) - 5 pieces of 5″ x 6″white daisy cardstock
- Butterfly Backgrounds Thin Cuts metal die (You will need your own die cut machine to use the Thin Cuts die.)
- (10) 4¼” x 5½” white cards and envelopes
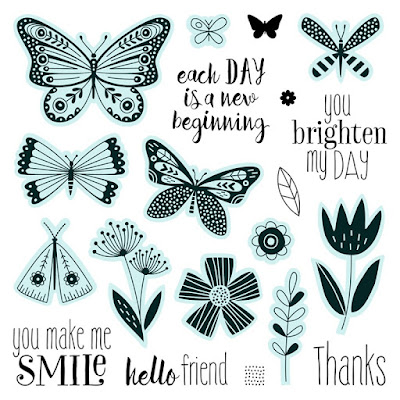
- Smiles from the Garden stamp set
- Step-by-step instruction guide with photos and cutting guide
- Black Ink Pad
- Wisteria Ink Pad
- Flamingo Ink Pad
- Sundance Ink Pad
- Avocado Ink Pad
- Sponge Daubers
- Dot Runner Adhesive
- Die Cut Machine (Cuttlebug, Gemini, Big Shot, etc.)
extra.
Butterfly Backgrounds Thin Cut die.
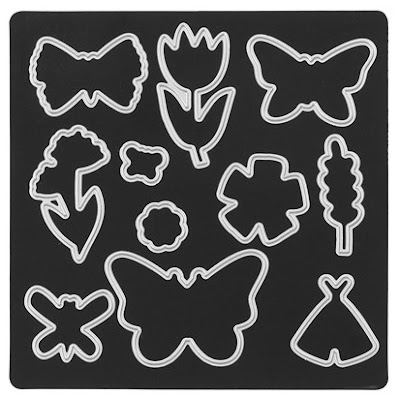
Smiles from the Garden Thin Cuts
dies for an additional $15. (You won’t need the Thin Cuts for this project but you may want them to coordinate with the stamp set for use on other projects.)
and 5 with holographic paper peeking through from behind.)
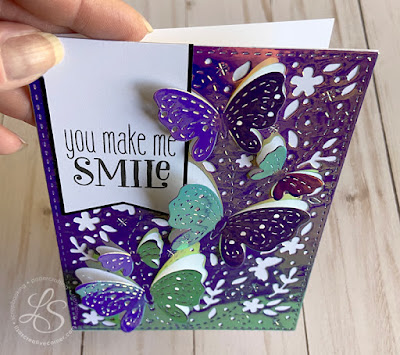
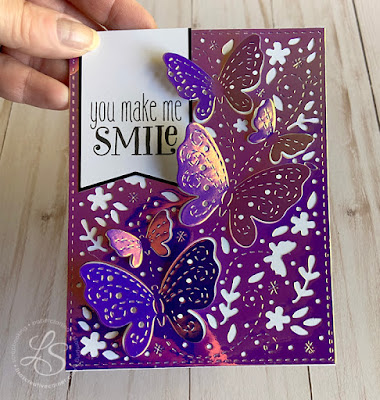
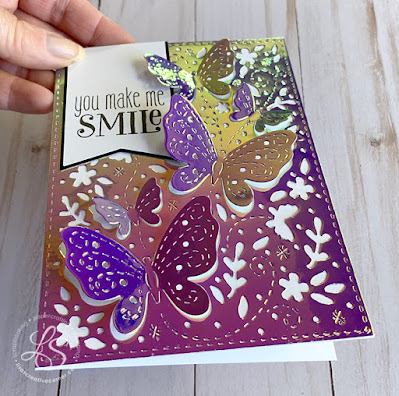
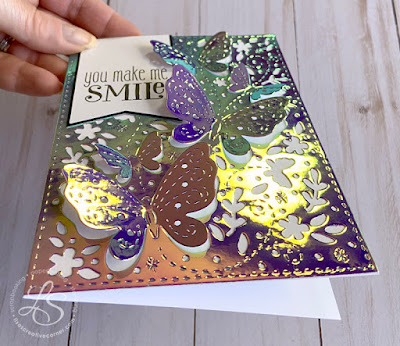
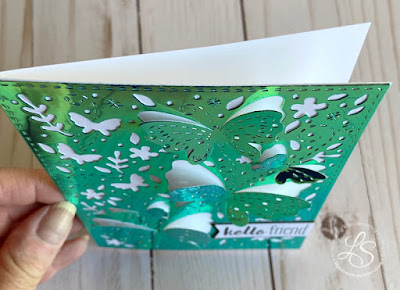
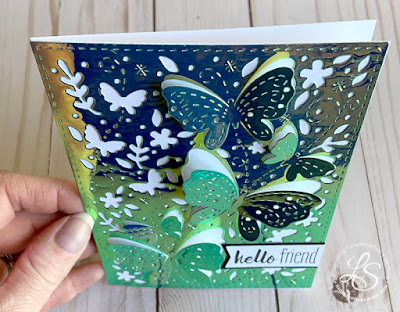
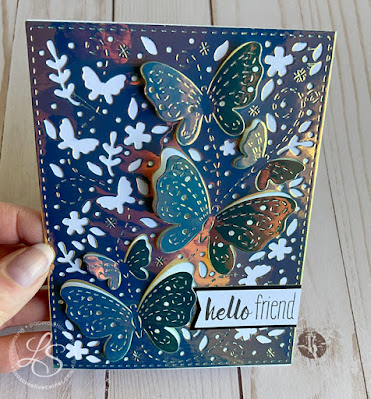
different colors depending on the light and the angle. The following 4
photos are the same card shown from different angles.
choose to die cut and use on top of the uncut holographic paper if you’d like to create a different look as shown in the photos below.
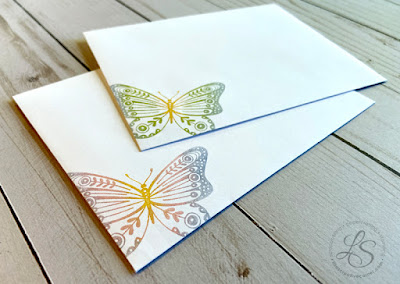
You will also learn how to create a multicolor stamped image to decorate
the envelopes and/or the inside of the cards as shown below.
For more information on my monthly “no commitment” Creative Club,
click here.
