Art Philosophy Stencil Cards and Glimmer Mist Recipe
Stay tuned for more Christmas projects. I have some CAS gift tags to post soon…
The brand new New Spring/Summer Consultant Kit is available to anyone who signs up starting today! For only $129, you’ll receive all of the business essentials you need plus your choice of three “choose me” collections! If you can’t decide which “choose me” collections you want, get them all! Each additional collection is only $40…
Talk about making a quick card… How about creating a finished card or layout title in five seconds flat? Watch this video to see Close to my Heart’s new series of single-image A-size My Acrylix® stamp sets. Use them for quick scrapbook layout titles or easy, one-step cardmaking. Each one is designed to complete your…

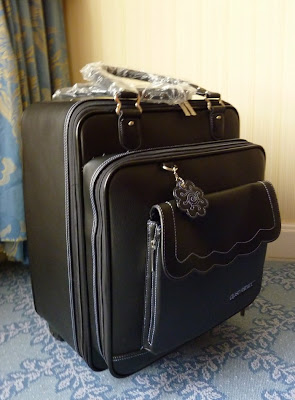
Wow! The Conference is over and my head is still spinning! We received an amazing amount of great information. I really need some time to process it all. *Ü* As promised, here are a few pictures of just some of the massive amounts of free goodies we received… This is the fabulous rolling tote that…

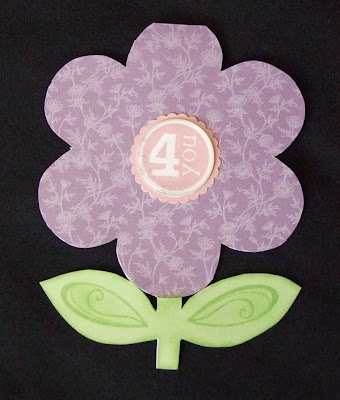
I saw a cute flower shaped card here a while back and downloaded the template. When I came across Kathi’s version here, I knew I had to print out the template and try one too. Here is my version. It could use a little dressing up, but sometimes less is more…Cardstock: White Daisy Stamps: Friendship…

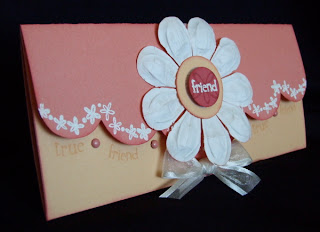
Isn’t this card fun? Wanna know how to make it AND how to get the stamp set at a discount? Check out the how-to video and instructions here. You will also find lots of other great project ideas in the video as well! All supplies are CTMH:Stamps: Friendship Word Puzzle*This stamp set is specially discounted…

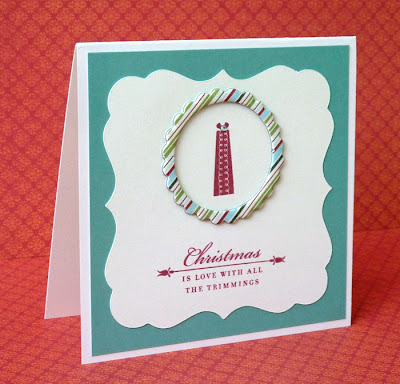
My sweet friend and downline Christine Adams sent me this adorable Christmas card! I love how she used a left over piece from the Advent Calendar Workshop on the Go Kit on the card. I have a little stash of leftovers that I have been saving. Now I think I know what to do with…
Absolutely Beautiful!
Simply beautiful and genius! I want a set of 100 please. 🙂
Love these! But I'm assuming you didn't use cardstock for your stencil. Could you add a comment to the post to address how you got such a clean edge to the Universal Background stamping through a stencil? Thanks!
Thanks ladies! Becca, I actually did use cardstock for my stencils. It works great. Hope that helps.
Lisa, these are GORGEOUS and you can consider them LIFTED! I've been saving my paper I've cut images from for another project, but I'll have to honour this one now too! Thank you for your continued inspiration.
Wonderful cards! Thanks so much for sharing 🙂
Nice…very, very nice. Thank you so much for sharing.
These are gorgeous, Lisa! Thanks fore sharing such a wonderful and easy idea!
Lovin' those cards! You are a true inspiration my friend!
Absolutely stunning Lisa!
I love this idea! amazing!
Oh I love this set of cards so pretty!
These are so fantastic! I have fallen in love with this cartridge — I hardly use any of my others since I got it. Thank you for all of your ideas.
Incredible. Thank you so much for sharing your incredible talent with all of us!
Simply GORGEOUS, LISA!!!!!
Lisa these are beautiful. Thank you for the inspiration!
Lisa, what. Fantastic idea!
These are absolutely stunning! I love that idea. I actually used the negative space from the Art Philosophy for something similar, but not quite this way. I love this idea!
And Becca Whitham…I am not sure what Lisa used, but mine was cardstock and all I did was sponge daubered (I know that's not a word in the dictionary, but there is a scrapbooking dictionary I know it's in! LOL) and it came out fine. I still have the negative spaces for other projects. Also, there is a flower in the Art Philosophy cartridge that the left over pieces (if there is ever anything such as left over pieces) actually look like teeth. So if you have a tooth fairy story, you could use that flower 😉
Again, great job Lisa and thanks for sharing!
love these cards, thank you for sharing this classic yet simple idea for stamping a beautiful card.
These are just beautiful! Thanks so much for the inspiration – I didn't know about the homemade glimmer mist either!! Thanks for the tip!