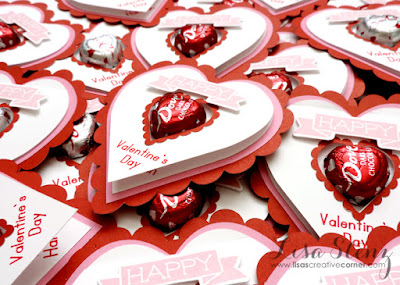
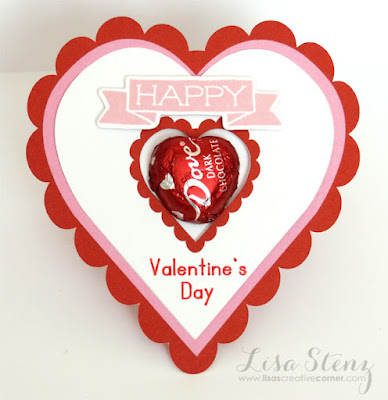
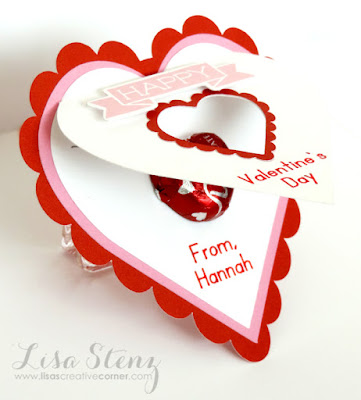
Every year my daughter asks me to make the Valentine cards for her class. This year we used my Cricut Explore machine to make these classic heart-shaped cards. We used the heart and scallop heart shapes from page 71 of the Close to my Heart Artiste Cricut cartridge booklet. With a little slicing, attaching, and resizing, we made all of the layers from the two images.
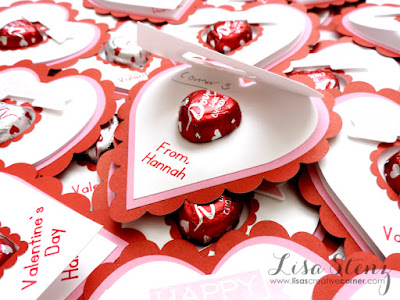
We cut two white hearts (one with the smaller heart cutout in the center) and then attached them at the top so that the card would open. Then we stamped the “happy” banner from the new
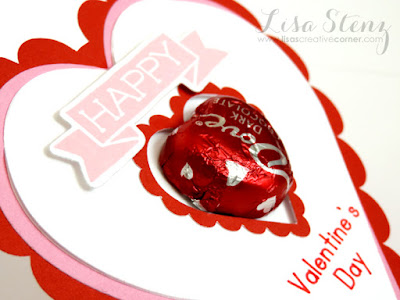
My Anchor stamp set in Pixie ink. The best part is that I didn’t have to hand cut each of the banners. I used the new
My Anchor Thin Cuts to cut them out. It was much quicker and much easier.
We used the Simple Celebrations font in Design Space to add the “Valentine’s Day” on the outside and my daughter’s name on the inside. Her red Crayola thin marker worked perfectly in the Explore machine.
After we cut and assembled all of the cards, we attached a heart-shaped Dove chocolate inside each one so that it would peek through the die cut heart on the front. (A large Craft Glue Dot held the chocolate in place perfectly.
Here is a link to the Design Space file if you’d like to make some too. I left off the writing so that you could personalize it any way you like. If you add text in Design Space, make sure that you attach the text to the heart so that it will cut and write at the same time. You will also want to detach the score line on the top heart so that it won’t draw a line instead of scoring it. You can always score the line by hand if you need to.
Wishing you a wonderful Valentine’s Day!
xoxo


Wow! These are fabulous!
Such a cute valentine and thank you for the file!
Thank you so much for sharing the file – I've been stuck on what to do for my family and you've saved the day :). Happy Valentine's Day to you!
Super cute Lisa! Thanks for the inspiration😊