I am taking a great online class right now called “Merry Making” offered by onlinecardclasses.com. Yesterday’s class was all about die cuts which is what inspired this card.
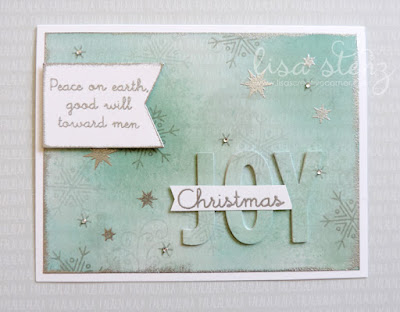
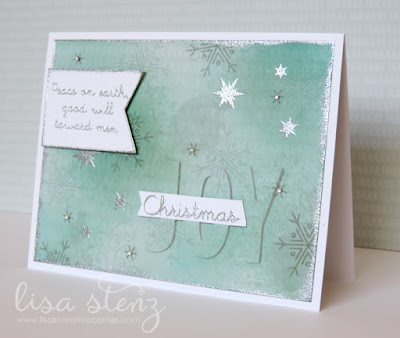
I started with a piece of patterned paper from Close to my Heart’s Silver & Gold Collection. I distressed the paper by sponging some Glacier, Juniper, and Lagoon ink on it first. I also stamped some “splats” using the Splash of Color stamp set. Then I stamped some snowflakes and swirls from the stamp that comes with the Merriest Wishes Card Kit in Pebble and Heather ink. Finally I heat embossed some stars from the First Noel stamp set and the edges of the paper with Silver Embossing Powder. (You can see what the original paper looked like, before I distressed it, in the background of my photos.)
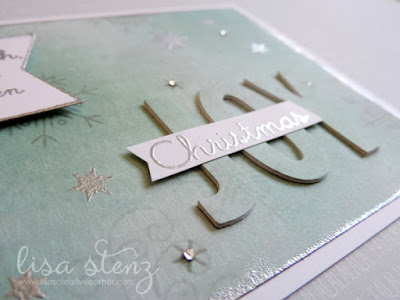
After creating the background paper, I used the Thin Cuts Block Alphabet dies to cut the word “JOY” from the paper. I also cut the letters 3 more times from a piece of white cardstock. I layered the white cardstock letters on top of each other to create a thick chipboard look. Then I adhered the patterned paper letters on top. After matting the patterned paper to the card base, I adhered the faux chipboard letters in the openings which created the “camouflage” effect.
I die cut a white cardstock banner shape using the medium banner from the Thin Cuts Basic Banners set, then embossed the sentiment from the First Noel stamp set with Silver Embossing Powder. I also embossed a thin strip of white cardstock with the word Christmas from the same stamp set and trimmed it so it looks like it’s tucked in under the letter “Y.” I added a few Bitty Sparkles to the tiny stars to finish off the card.
I love that the card looks so different depending on the angle. The dimension from the die cut “camouflage” letters is so much fun!



OH MY GOODNESS! This is absolutely gorgeous, Lisa. Thank you for your detailed description of how you made it!
I'm so glad you like it Doreen. It was loads of fun to make!
This is so beautiful…now I want all of those sets (and dies!!). 🙂
Thanks Chris. I must say that the alphabet dies are really handy. 😉
So soft and pretty! Love this!
Thank you so much Nancy.
Love this card! <3
Thanks Michelle! 🙂