Buzz & Bumble Tag – New Catalog Sneak Peek
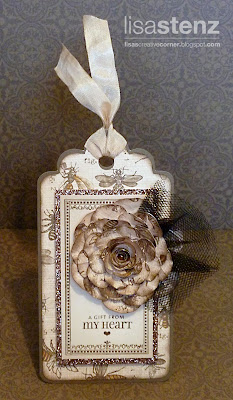
Here’s a little sneak peek at some of the new products in the 2013 Spring/Summer Close to my Heart Idea Book. One of my favorite new collections is called Buzz & Bumble. I created this tag with some papers and Stickease from that collection and another favorite new product—Glitter Paper! So much fun!
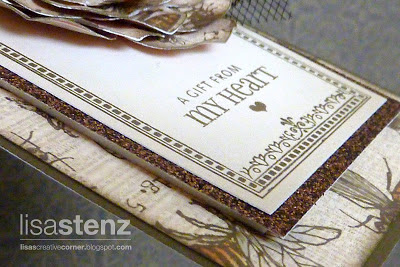
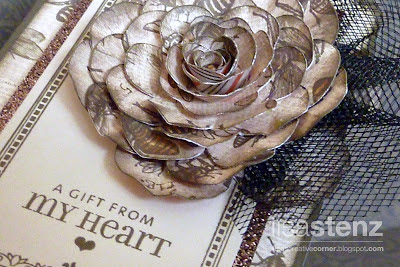
I’m not sure if you can see it in the photo but I used one of the six new colors of the Glitter Paper behind the first layer and then popped it up with some 3-D Foam Tape. The flower was made by cutting some paper from the Buzz & Bumble Collection with the Artiste Cricut cartridge. I cut 6 flowers and layered them together. The flower on page 32 of the Artiste booklet was cut at 1-1/2″, 1-3/4″, 2″, 2-1/4″, and 2-1/2″. I crumbled them up a bit and inked the edges with Cocoa ink. I also slipped a piece of Black Tulle behind the last two layers. The center of the flower was cut at 2″ with the 3-D flower shape on page 54 of the booklet. I inked the edges, rolled it with the quilling tool and adhered it to the center of the flower. I added a small Mocha Opaque Pearl in the very center.
I finished off the tag with a stamped image from the Crafted with Love set and a piece of Color Ready Seam Binding dyed with Cocoa Re-inker.
Check back on February 1st to see all of the wonderful new products in the new catalog including the Glitter Paper and the Buzz & Bumble Collection!



Awesome tag! Absolutely love everything about it. Thank you shaing.
That is beautiful Lisa!!
This is just precious! I absolutely adore it very much. Hugs xx
What an AWESOME tag… love the flower… I have used a single flower cut before but never several cuts layered together… could you do a more step by step tutorial of this? You explained it well enough that I am confused how it lays so big… I have the artiste and art philosophy carts… thanks for your help with this if you can 😉 Love the sentiment you chose too… very cute… love the glitter paper! Kathi
Gorgeous. Love the sparkle paper and tulle together.
I agree with Karen and Pam – absolutely stunning and I LOVE every little detail! Well done my friend!
Gorgeous tag! At first I did not notice the glitter paper, I bet this is gorgeous in person. I will have to remember this flower technique too, it's perfect!
Awesome tag!!! Just beautiful!
So elegant! That touch of tulle on the rose is just perfect!
Amazing Lisa