
Simply Inspired Blog Hop – #30yearsofhappy
Blog Hop | Boxes | Cards | Cricut | CTMH | Gifts | Promotions | Tutorials | Uncategorized
Welcome to this month’s Simply Inspired Blog Hop! This month we are celebrating National Stamping Month by highlighting projects made with Close to my Heart’s limited edition #30yearsofhappy Stamp Set! If you arrived here from the fabulous Pamela O’Conner’s blog, then you are on the right path.
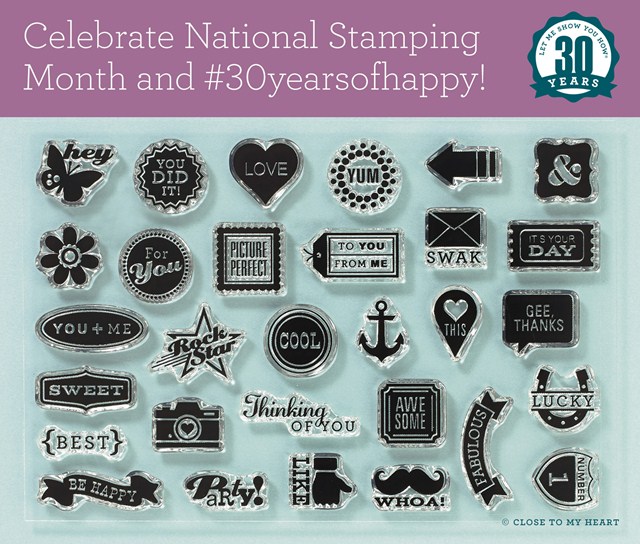
The limited edition #30yearsofhappy stamp set contains 30 adorable mini stamps. Isn’t it a cute set? You can get this set for free by placing a qualifying order of $30 in current retail-priced stamps during the month of September. (Contact your CTMH Consultant or click here if you don’t have a Consultant to order yours.)
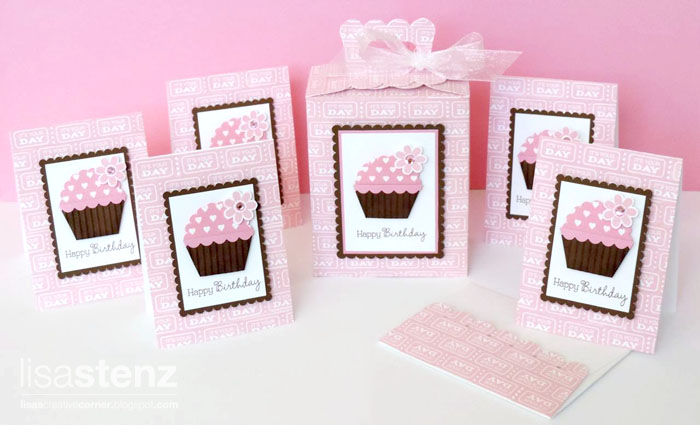
I decided to use two of the mini stamps for my project. I used the tiny “It’s Your Day” ticket stamp and the cute little flower stamp to created a mini birthday card set and matching box. The box was cut using the Artiste Cricut cartridge. I brought the box shape from page 44 of the Artiste booklet into Design Space and resized it to 11.25″ wide. Before folding the box, I stamped the entire piece with the tiny ticket stamp in Pixie ink.
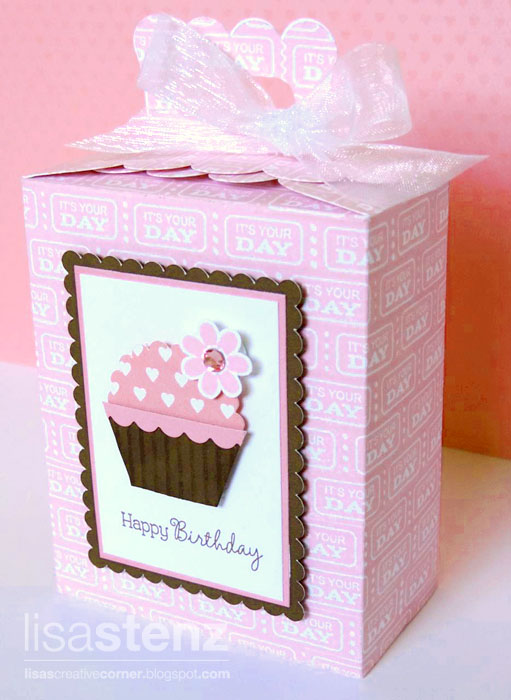
This is what the box looks like when it is open.
All of the cards and envelopes fit inside.
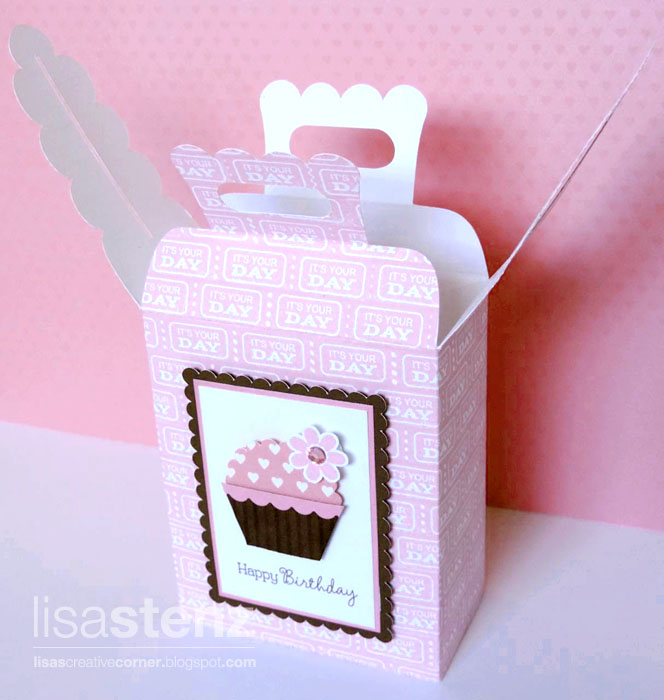
To make the mini enclosure cards, I cut (5) pieces of White Daisy cardstock to 2¾” x 7½”, scored and folded them in half. Then I stamped the front with the mini ticket stamp in Pixie ink. I cut the Chocolate cardstock rectangle scallop on the cards using the scallop rectangle shape from page 78 of the Artbooking cartridge booklet at 2½” wide. (The rectangle on the box was cut at 2¼” high.) The birthday sentiment (from the Your Own Kind of Wonderful set) was stamped on the bottom of a 1⅝” x 2¼” White Daisy piece of cardstock in Chocolate ink. (The White Daisy piece on the box measures 1⅞” x 2⅝”.)
The cupcake top was cut using the scallop circle shape on the Art Philosophy cartridge at 1¼” from a piece of pink Paper Fundamentals cardstock.
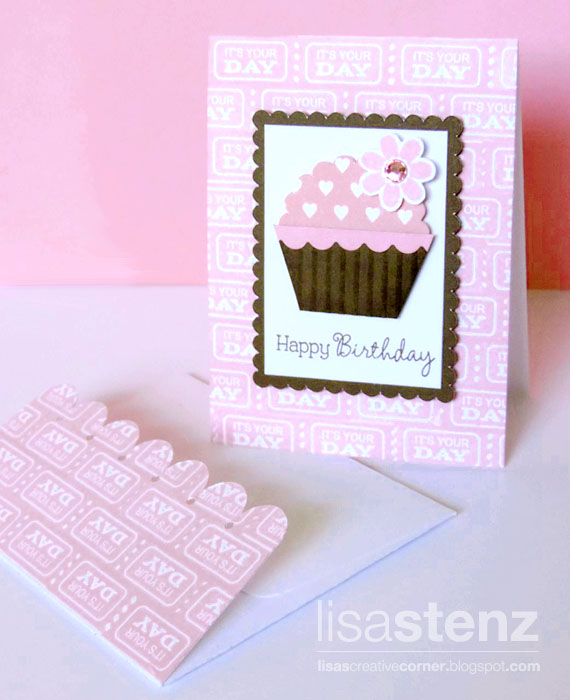
I cut the cupcake wrapper from a piece of Chocolate cardstock freehand and then scored it using the new Score Board. (Love that thing!) I inked it with some Chocolate ink to make the lines pop a little more. The Pixie cardstock scallop strip on the top was cut with some scallop scissors. I adhered the cupcake to the card with some 3-D Foam Tape and added the stamped and hand-cut flower to the top. I finished it off with a Pink Sparkle.
The envelopes were cut from the Artiste Cricut cartridge (page 73) at 5″ high in Design Space. I stamped the ticket image on the flap in Pixie ink to coordinate with the rest of the set.

Click here to download the Design Space file which includes all of the Cricut shapes used from the Art Philosophy, Artiste and Artbooking cartridges. (You must have an Explore machine and the Cricut cartridges to use the Design Space file.)
Thanks for stopping by. Now hop on over to Dana Kessler’s blog to see her fabulous creation. (If you get lost along the way, you can see all of the fabulous blog hop participants here.)


Absolutely gorgeous set, Lisa!!!
Oh MY Word! All that pixie pink. So YOU! So adorable as usual! Love it!
Oh, these just make me happy. So cute Lisa!
WOWZERS!!! That's just about the cutest thing I've seen! Thanks for sharing the files with us!
Oh…My…Goodness…ADORABLE! I can't believe you stamped all those tickets! 😉 LOVE!
Love how creative you were in using this set! Simply adorable.
Love this gift set. Gorgeous images and colors.
Wow Lisa!! What a beautiful set! Your artwork always amazes me! 😉 Love it!
Stinkin' cute and adorable! Excellent stamping and love colors too. You amaze me!
Denise took the words right out of my mouth! Oh my word! How stinking adorable is that project! Pretty and pink and perfect! Love!
What a great set! Thanks for the inspiration.
I am always inspired by your work, Lisa. Thank you for sharing.
I think I have a sugar high from your cute cupcake cards! 🙂 Confection Perfection – LOVE it all!