October Project Kit – Boxed Christmas Card Kit

| | | | | | | | | | | | |

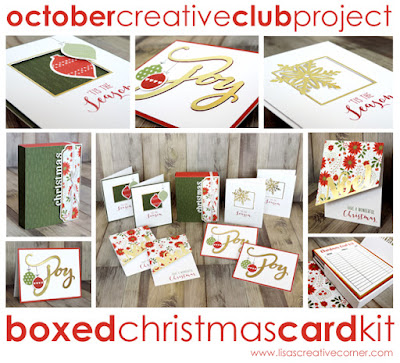
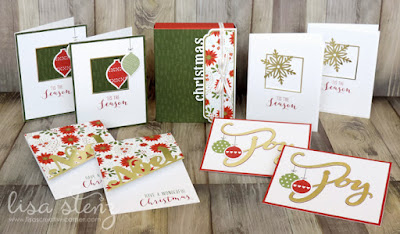
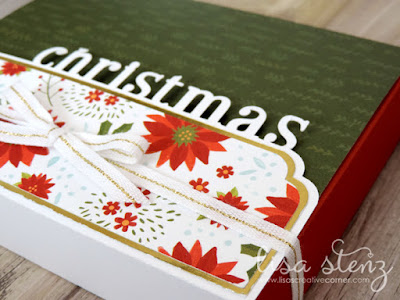
This month’s project kit is one of my new favorites. We will be making a set of 8 Christmas cards along with an interactive box to hold them.

This month’s local class will be on Thursday, October 26th at 7pm. If you are not local or unable to attend and would like to order a kit to be shipped directly to you, select the shipping option below. Basic kit is $30 or $40 with the Thin Cuts bundle. ($6 will be added for shipping.)

Christmas Card Boxed Card Kit – $30 or $40 with the Thin Cuts Dies

All pre-cut kits will include the following:
Add on the Thin Cuts Metal Dies for just $10 more. (You will need a die cutting machine such as a Cuttlebug or Big Shot to use the dies.)
Additional kits with no stamp set or dies are just $16.
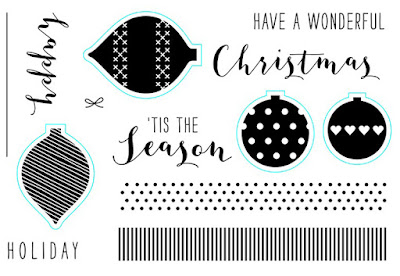
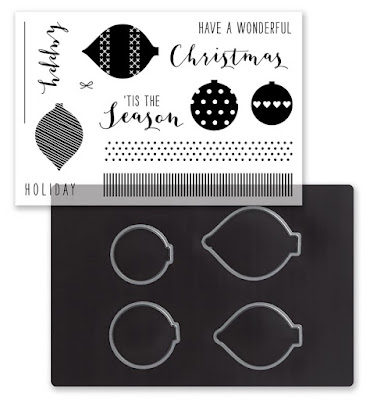
Your kit includes the sweet Silver and Gold—Cardmaking  stamp set. (See below.)
Add the Thin Cuts Dies for just $10 extra. (see below.)
Extra supplies needed to complete the project: 
Each kit makes an interactive box with 8 cards (2 each of 4 designs.)
Watch the video below to see the project in action.
The box holds all of the cards and envelopes.

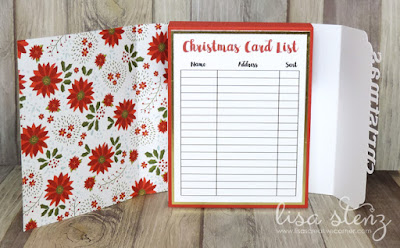
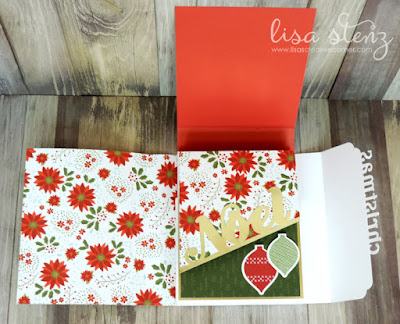
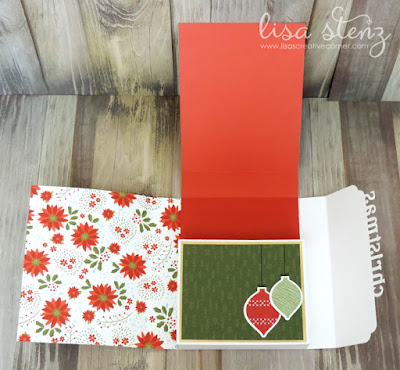
When the box is first opened, you will see Christmas card list on the inside flap. This is where you can list your recipients’ names and addresses. There is also a column for you to check off each person after you have sent them their card.
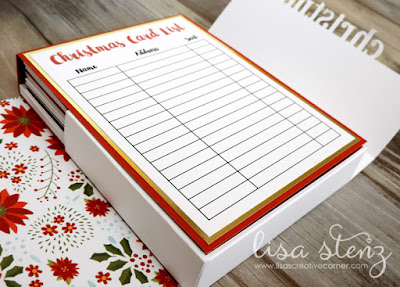
When you lift up the Christmas List flap, you will have a place to insert your cards. You can even have the front flap of one of the cards hanging over if you like to make it more decorative as seen in the photo below.

Once you take the cards out, you are left with a cute empty box that you can use again next year.
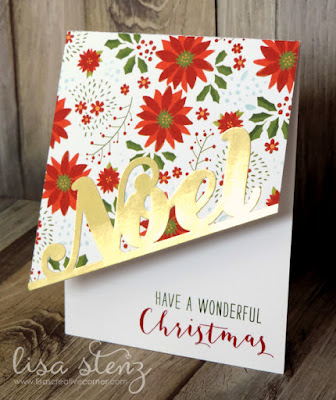
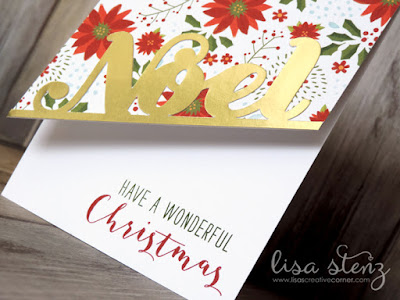
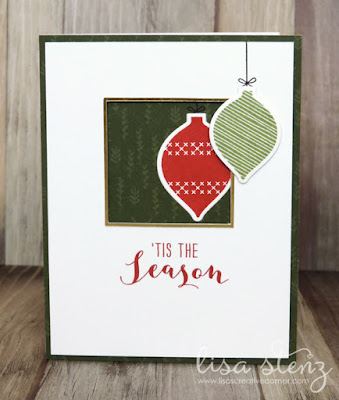
Below are the cards that you will make in this kit.
The first card has a fun diagonal front flap that looks great hanging over the inside of the box base.

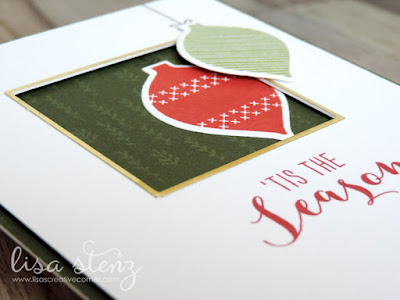
This card has a die cut center that gives the card some dimension.

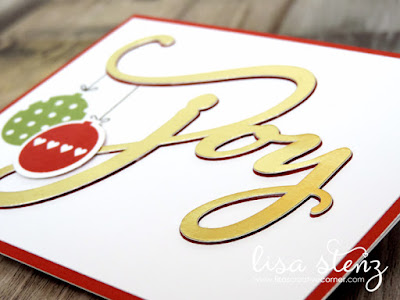
This card uses a slightly different version of the latest Eclipse technique to create a raised sentiment with a red shadow peeking through. 
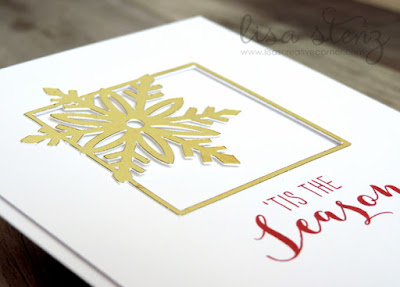
This is the most simple of the cards, but it is my favorite. It has a cutout section in the middle like the second card, but it is much more clean and simple with the gold foil snowflake border.


All kits are now sold out. Thank you for your interest.

To find out more about my monthly “no-commitment” Creative Club, click here.
You do not need to be local to participate. *Ü*

Similar Posts

  • Painted Trees Embossed Card

    I created this unique card using the Painted Trees 3D Embossing Folder, White Pigment ink, and a bit of Shimmery White Embossing Paste. I first lightly inked the edges of a piece of Bubble Bath cardstock with Bubble Bath ink using a Blending Brush. Then I embossed the Bubble Bath cardstock with the Painted Trees…

  • Prep Time…

    I am currently prepping my monthly project kits. It’s a lot of work, but so worth it! Nothing makes me happier than mailing out tons of project kits each month to eagerly awaiting crafters around the country! 450 leaves cut…1520 flowers to go! I am very thankful for my wonderful Cricut Explore right now! Hope…

  • Studio J is here!

    It’s here! It’s here!Studio J is now live and ready for you to play with. Remember there is nothing purchase, download, or pay for until you are ready to order your layouts. You can create until your hearts content for FREE! Click here to start creating your beautiful layouts now. Feel free to contact me…

  • Envelope Lining Tutorial

    I taught a class the other night where we used the Wishes Book to make three cards and matching envelopes. You can see the cards we made here. I thought it would be fun to line one of the envelopes with some patterned paper. Through trial and error, I figured out a few tricks that…

6 Comments

  1. I wish I would be able to pop over fron NZ to do this class. So amazing as always. You are such an inspiration.

    1. Thank you Rina. You are very kind! I would love for you to pop over from New Zealand!! You are welcome anytime. *Ü*

  2. Stunning, as usual. I wouldn't expect anything less because all your kits are gorgeous and this one is no exception. Like Rina said above, I would LOVE to drop in and join any one of your workshops, just for the inspiration 🙂

Leave a Reply to Kit and Rina Cancel reply

Your email address will not be published. Required fields are marked *